stroydom.ge
Updated:
Finishing is really two distinct stages: rough-in prepares surfaces and utilities, final finish shapes the room you actually see. Mixing them up, or trying to cut a corner, is a common reason walls crack and floors start creaking a year after the renovation.
Rough-in finishing
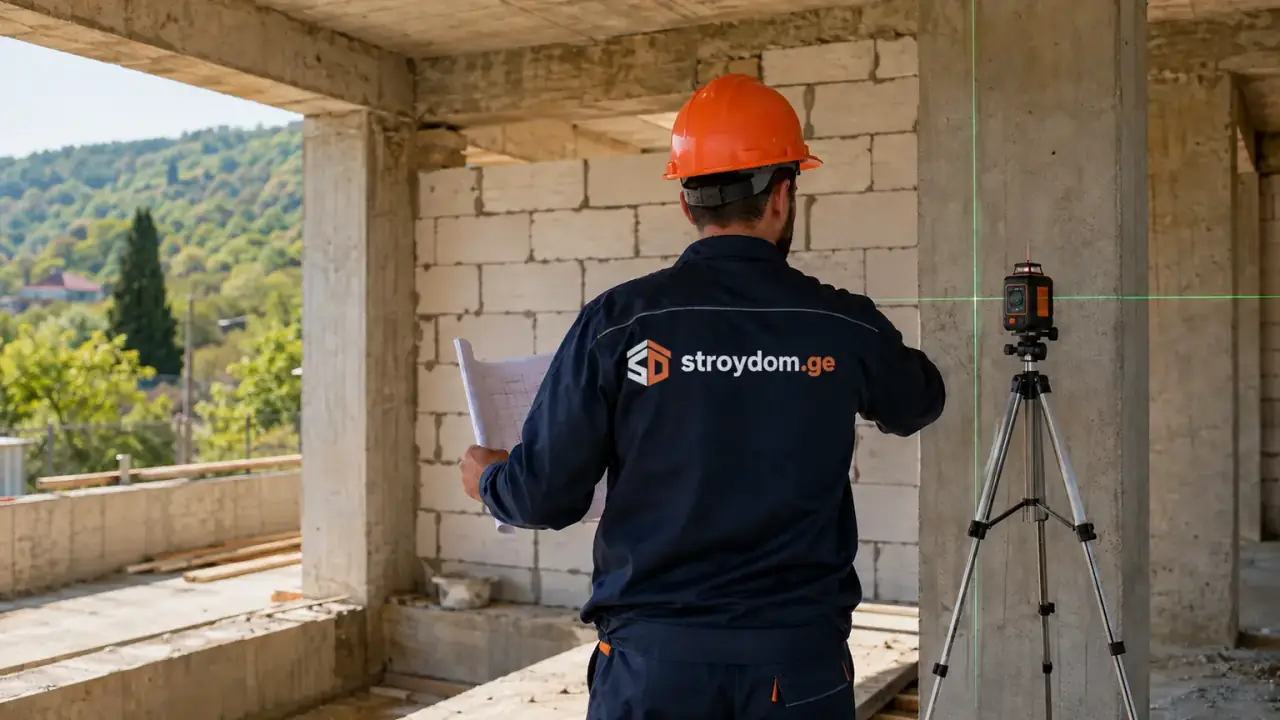
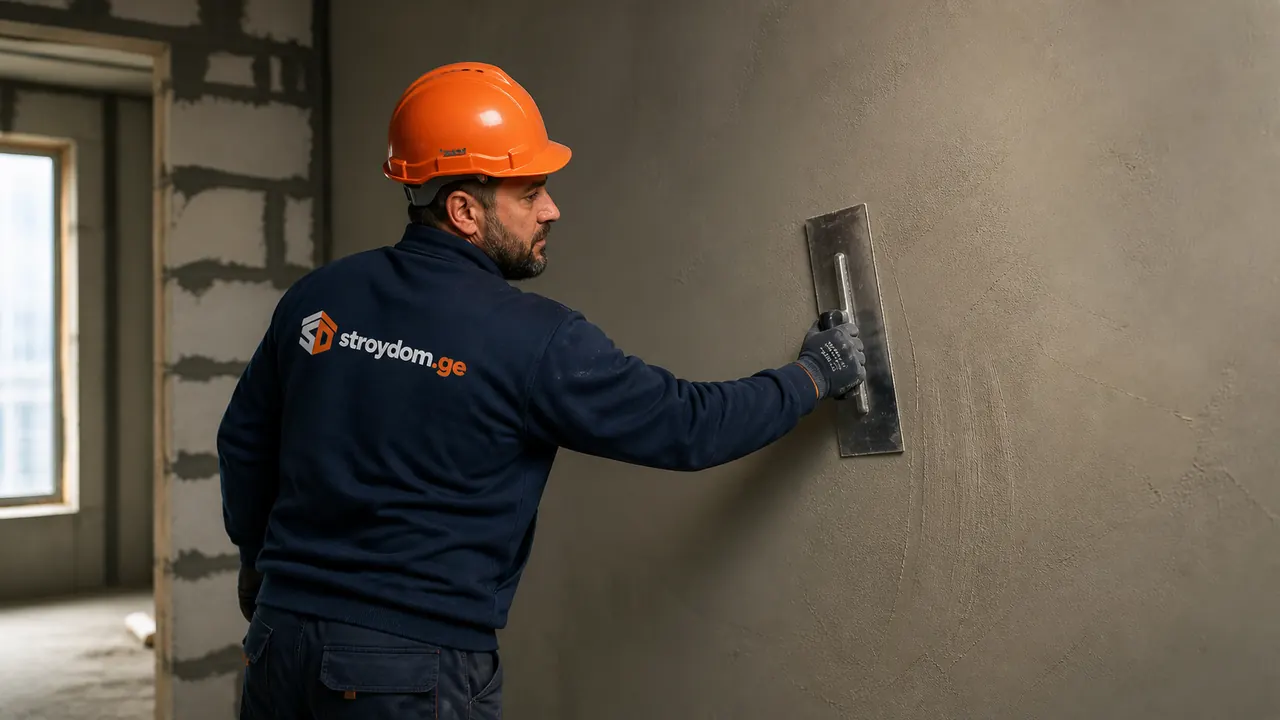
- Plastering walls and ceilings: levelling to a reference line, removing plane deviations.
- Floor screed for the finish flooring.
- Routing and running electrics, plumbing, and heating through chases and conduits.
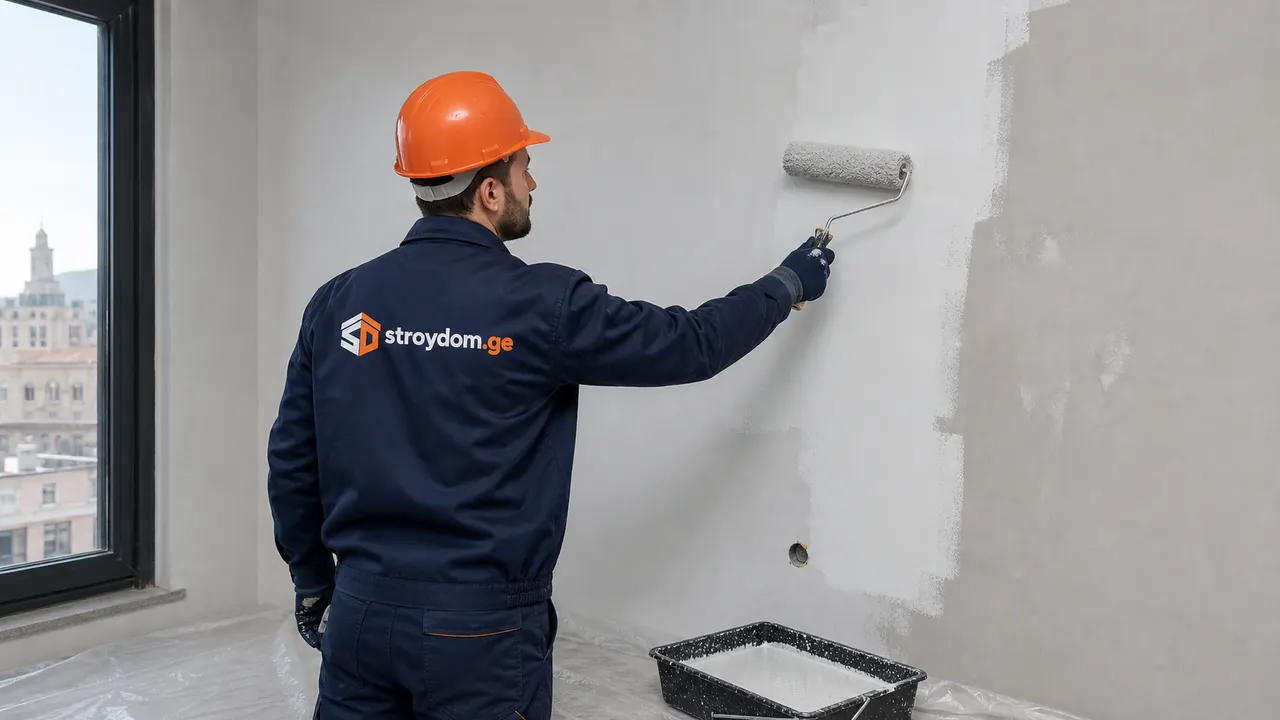
- Filling for painting or wallpaper, priming surfaces.
Final finish
This stage lays flooring and tile, applies paint and wallpaper, installs plumbing fixtures, outlets, light fittings, and doors. Final finish needs flat rough-in surfaces underneath. If the plastering or screed left a deviation, tile or laminate will not hide it, only make it more visible.
How to avoid rework
- Do not start final finish before screed and plaster are fully dry: the schedule is set by the material, not by how fast you want to move.
- Agree on electrical and plumbing routing before plastering, because moving an outlet after final finish costs several times more.
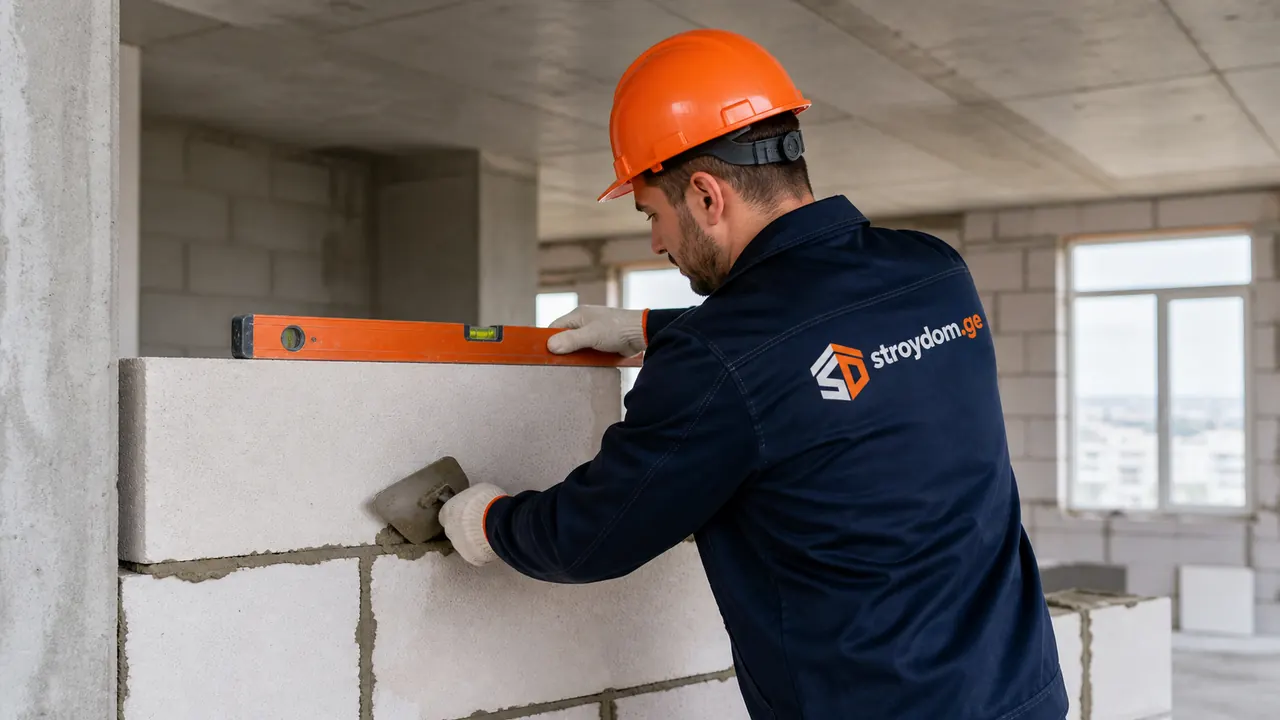
- Check corner and plane geometry with a level before laying tile or installing kitchen units.
We handle finishing works from rough-in through turnkey handover, with a fixed estimate per stage, the same way we run turnkey house construction in Tbilisi. On finishing a bare concrete shell, see Renovating a new build from concrete. Describe your property and we will scope the stages and timeline.
Need an estimate for your project?
Send a request — we will prepare an estimate and answer your questions.