stroydom.ge
Updated:
Tile is the most demanding finish when it comes to substrate: any plane deviation, undried screed, or wrong adhesive shows up months later as cracks, loose tiles, or opened-up grout lines. Good tile work is 80% preparation, not the tile itself.
The correct sequence
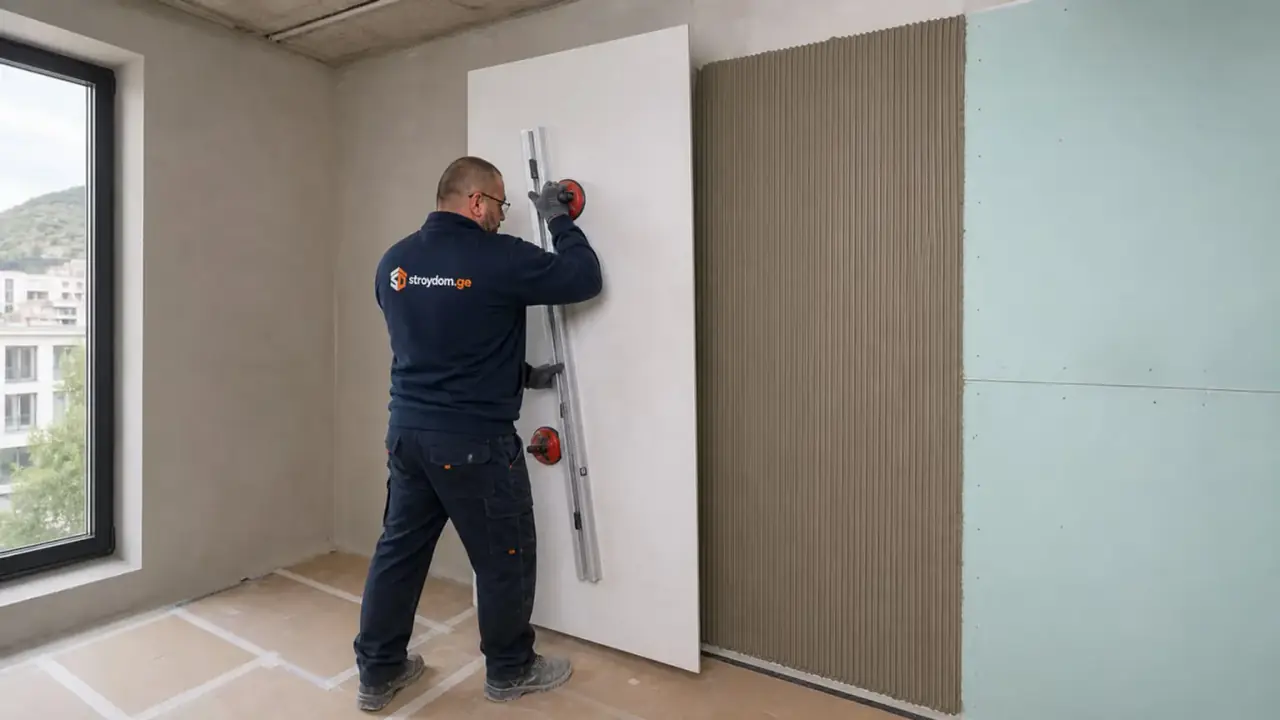
- Check wall and floor flatness with a level, correcting any deviation over 2–3 mm per metre.
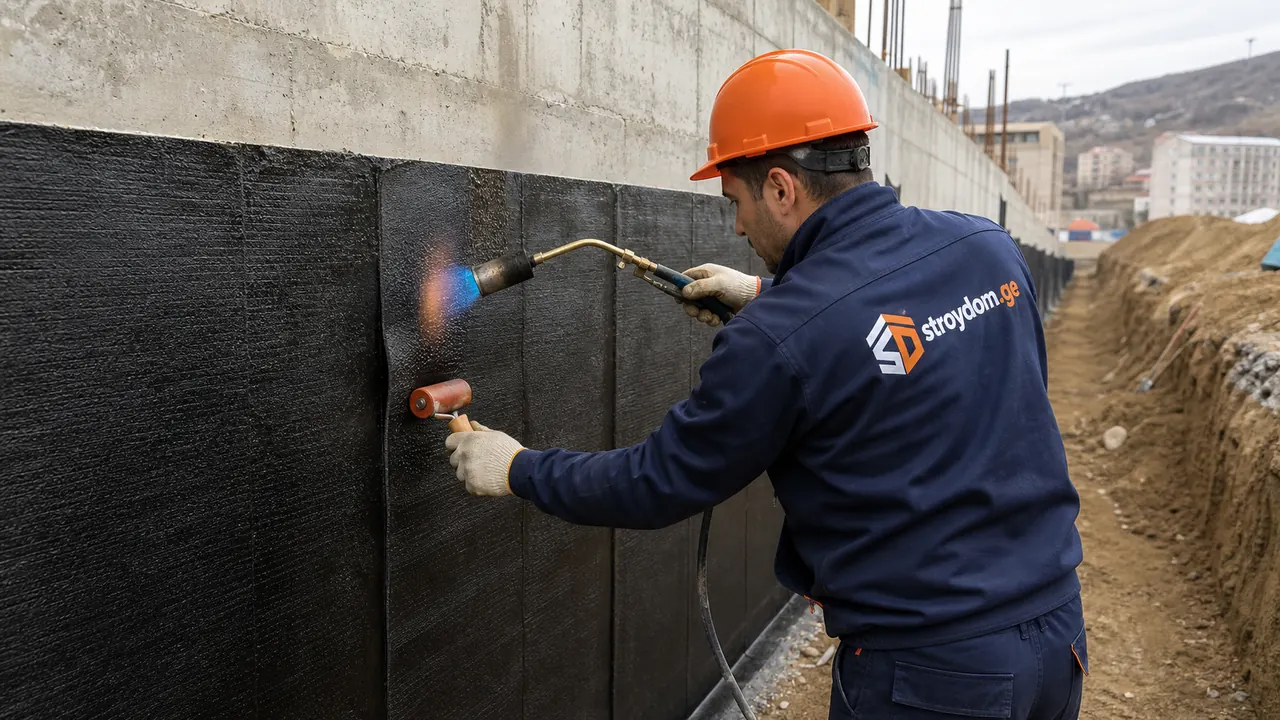
- Waterproofing wet zones: mandatory under tile in bathrooms and on balconies.
- Priming the substrate for the right adhesive type.
- Laying with spacers and a levelling system for a consistent joint width and no "lippage" between tiles.
- Grouting after the adhesive is fully cured, not right after laying.
Common mistakes
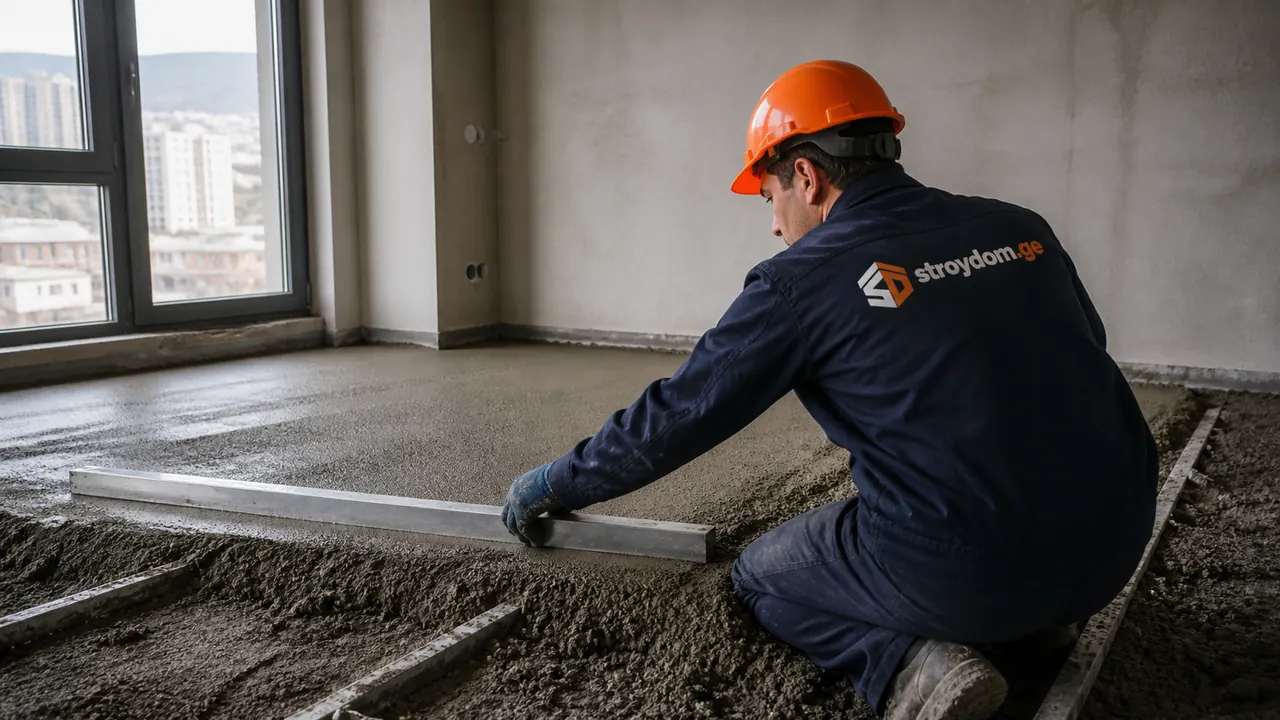
- Laying tile on undried or uneven screed: the tile "moves" and cracks within a few months.
- The wrong adhesive: not every adhesive holds large-format or porcelain tile.
- No waterproofing under bathroom tile: the leak shows up at the neighbour downstairs, not at your place.
- Skipping the perimeter expansion joint: as the house settles, the tile cracks in a straight line.
We do tile installation with waterproofing and substrate prep only as part of a house build, inside construction works from plot to keys. On the layer beneath the tile in wet zones, see Bathroom waterproofing. Tell us about the task and we will estimate materials and timeline.
Need an estimate for your project?
Send a request — we will prepare an estimate and answer your questions.